
Part 6 — How I Run My Entire Digital Life on a Raspberry Pi: Breaking Free from Big Cloud and Self-Hosting Nextcloud for Total Privacy and Control
Table of Contents
In this part of the series, we take a bold step away from public cloud services and set up Nextcloud on a Raspberry Pi, giving you complete control over your files, calendars, and contacts. Say goodbye to third-party providers and hello to your very own private cloud — secure, customizable, and always accessible. Let’s dive in and unlock the power of true digital independence!
 Image generated by ChatGPT
Running Nextcloud at your own premise in docker container is essentially the same as running anything — just like our very own password manager in the previous episode.
When I explored how to deploy Nextcloud as a container, I came across two main approaches. The first was the so-called AIO (All-in-One) image, but I found it to be quite buggy — the container would run, but I ran into multiple issues, especially when trying to install additional apps. The second approach involved manually setting up a MariaDB container for the database and a Redis container to boost performance. While this method was a bit more complex and required some trial and error to get the settings right, I ultimately succeeded. Now, I’m excited to share this robust setup with you.
Setup
Let’s go to our Portainer again, and create a new stack for Nextcloud. For the docker-compose part, fill in the one below.
services:
  db:
    container_name: db
    hostname: db
    image: mariadb:11.4
    restart: unless-stopped
    command: --transaction-isolation=READ-COMMITTED --binlog-format=ROW --innodb-file-per-table=1 --skip-innodb-read-only-compressed
    volumes:
      - '/mnt/storage/cloud/nextcloud_data/db:/var/lib/mysql'
    environment:
      - MYSQL_ROOT_PASSWORD=$MYSQL_ROOT_PASSWORD
      - MYSQL_PASSWORD=$MYSQL_PASSWORD
      - MYSQL_DATABASE=db
      - MYSQL_USER=mysql_user
    networks:
      pi_docker_network:
        ipv4_address: 172.30.1.11

  redis:
    container_name: redis
    hostname: redis
    image: redis:latest
    restart: unless-stopped
    command: redis-server --requirepass $REDIS_PASSWORD
    networks:
      pi_docker_network:
        ipv4_address: 172.30.1.12

  nextcloud:
    container_name: nextcloud
    hostname: nextcloud
    image: nextcloud:latest
    restart: unless-stopped
    dns: 172.30.1.3
    volumes:
      - '/etc/localtime:/etc/localtime:ro'
      - '/mnt/storage/cloud/nextcloud_data/www:/var/www/html:rw'
      - '/mnt/storage/cloud/nextcloud_data/data:/var/www/html/data:rw'
    environment:
      - MYSQL_PASSWORD=$MYSQL_PASSWORD
      - MYSQL_DATABASE=db
      - MYSQL_USER=mysql_user
      - MYSQL_HOST=db
      - REDIS_HOST=redis
      - REDIS_HOST_PASSWORD=$REDIS_PASSWORD
      - VIRTUAL_HOST=cloud.[YOURDOMAIN.COM]
      - LETSENCRYPT_HOST=cloud.[YOURDOMAIN.COM]
      - TRUSTED_PROXIES=172.30.1.254
      - OVERWRITEHOST=cloud.[YOURDOMAIN.COM]
      - OVERWRITEPROTOCOL=https
      - PHP_MEMORY_LIMIT=1024M
      - PHP_UPLOAD_LIMIT=1024M
      - NEXTCLOUD_ADMIN_USER=$NEXTCLOUD_ADMIN_USER
      - NEXTCLOUD_ADMIN_PASSWORD=$NEXTCLOUD_ADMIN_PASSWORD
    depends_on:
      - db
      - redis
    networks:
      pi_docker_network:
        ipv4_address: 172.30.1.10

networks:
  pi_docker_network:
    external: true
As you can see, several environment variables need to be defined before deploying the stack: MYSQL_PASSWORD, MYSQL_ROOT_PASSWORD, REDIS_PASSWORD, NEXTCLOUD_ADMIN_USER, and NEXTCLOUD_ADMIN_PASSWORD. The Redis and MariaDB containers require only basic configuration, but the Nextcloud container has a few crucial parameters to set. For example, TRUSTED_PROXIES should include your Cloudflared tunnel’s IP address (or your reverse proxy’s IP if you use one), while VIRTUAL_HOST, LETSENCRYPT_HOST, and OVERWRITEHOST should all be set to your intended domain name (configured in Cloudflare/DNS in case of nginx). Setting OVERWRITEPROTOCOL=https ensures all access is securely forced over HTTPS. In the volumes section, notice that we get off from our regular docker location, storing everything at /mnt/storage/cloud — this serves as an extra separation, feel free to store everyting at /mnt/storage/docker/.With these settings in place, you’re ready to deploy your stack and enjoy a robust, private Nextcloud instance.
 Logs of the nextcloud container
Reviewing the logs showed there was an initial problem connecting to the database, but after a second installation attempt, everything appears to be running smoothly. Now, let’s jump right in and try accessing Nextcloud directly through our configured Cloudflare tunnel.
Remote Access
Configure tunnel
Navigate to your tunnel in the Cloudflare One dashboard and add a new public hostname using the following steps:
 The new public hostname for accessing our cloud
Save and try to connect by navigating to the set domain by your browser.
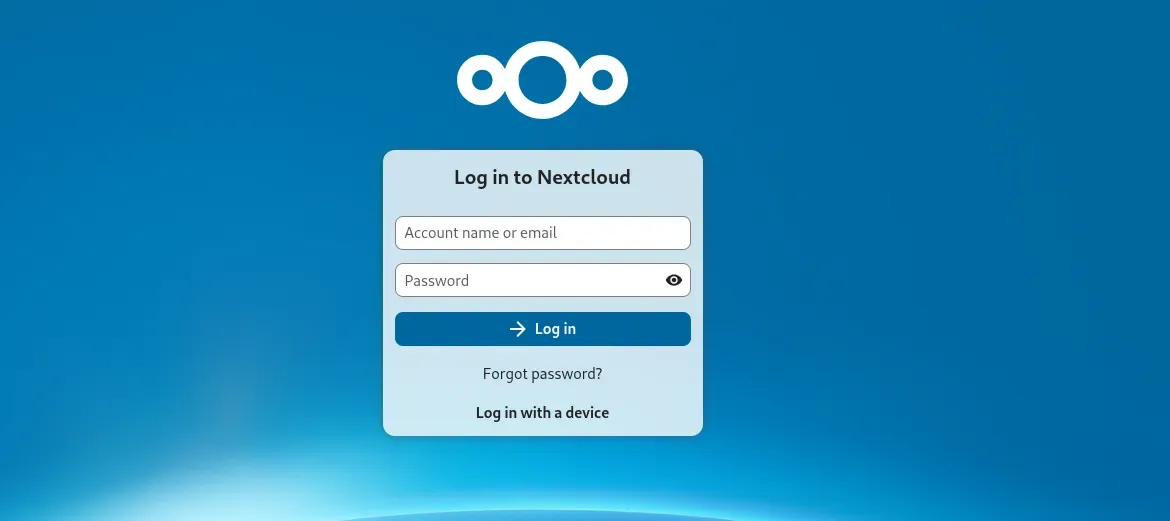 The login screen shows up immediately
Type in the user and password we set as ENVIRONMENT variables and see where it brings us.
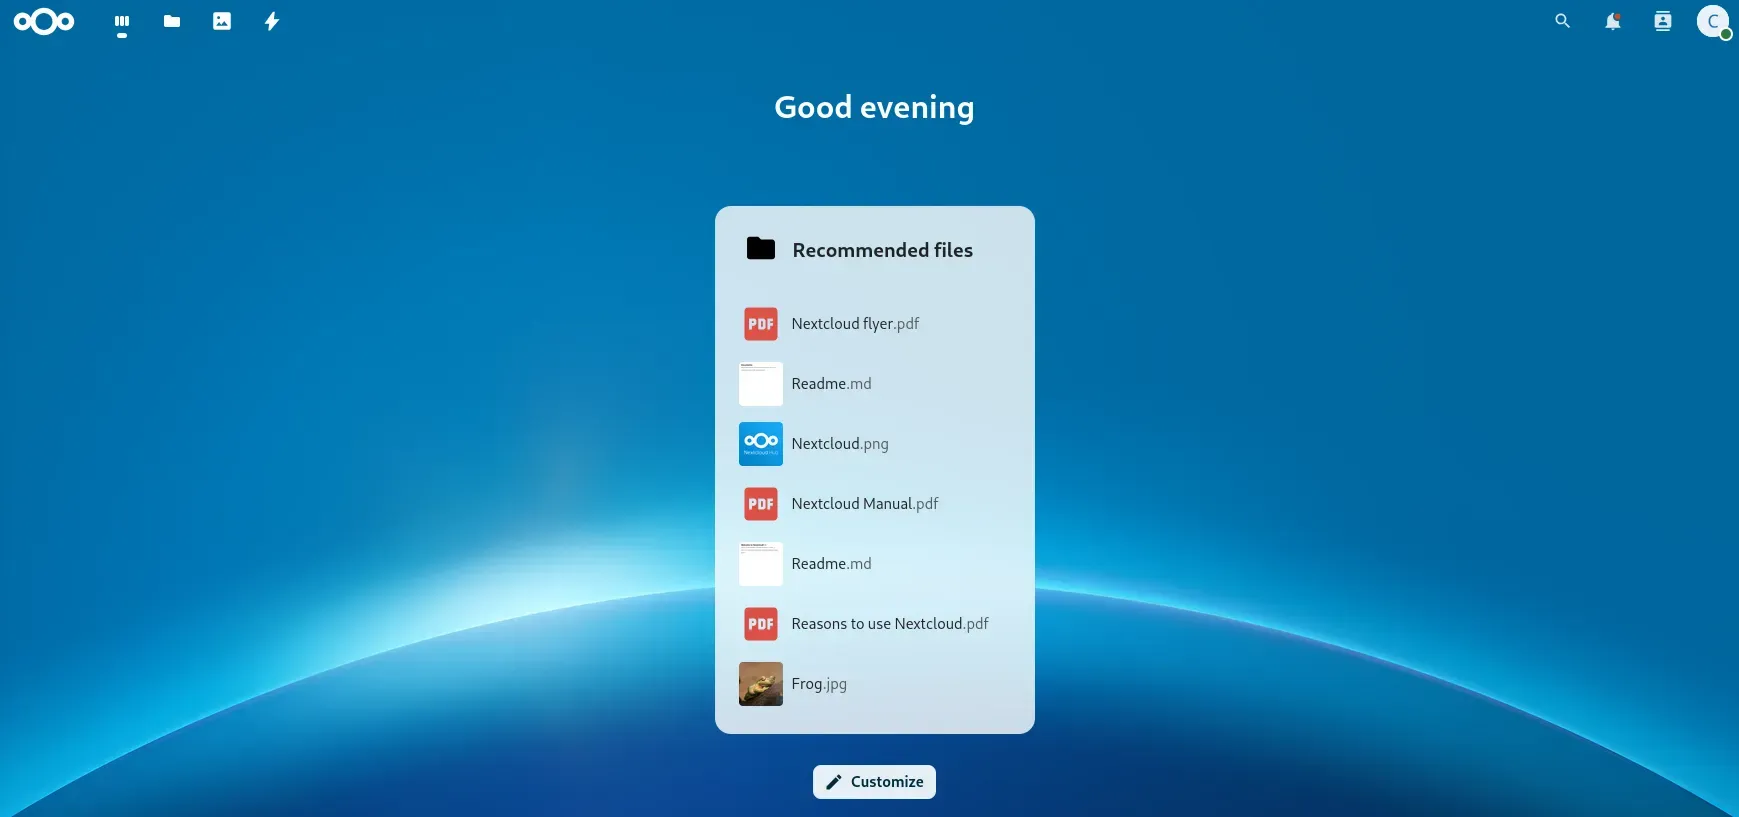 We have our own cloud up and running
Great news — our personal cloud is now up and running! If you’re already familiar with Nextcloud, go ahead and complete your initial setup and install any apps you need. If you’re new to Nextcloud, I recommend checking out some YouTube tutorials or online guides. For now, I’ll focus on quickly setting up sync for my work-related Documents folder on my laptop. We’ll also test the speed and performance to see how well our Raspberry Pi handles the load, which will give our Geekworm x1005 M.2 SSD hat a bit of a stress test. One of the main reasons I moved away from the Raspberry Pi 4B and the Geekworm NasPI Gemini was that running two SATA SSDs would always overwhelm the Pi, causing device dropouts and readonly remounts that required a reboot. Let’s see how this new setup performs!
NGINX
If you have read Part 16 and you have a public IP, you might consider remote access via NGINX. Below is the config for nextcloud — replace the domain name according to yours:
###############################
###      NEXTCLOUD          ###
###############################
server {
  listen 80;
  server_name cloud.YOURDOMAIN.TLD;
  return 301 https://$host$request_uri;
}

server {
  set $nextcloud http://172.30.1.10:80;

  listen 443 ssl;
  http2 on;
  server_name cloud.YOURDOMAIN.TLD;
  include /etc/nginx/ssl.conf;

  client_max_body_size 10G;    # large file uploads
  client_body_timeout  3600s;   # slow uploads won't get killed
  proxy_request_buffering off;

  location / {
    # no rate limit — Nextcloud has its own bruteforce protection built in
    proxy_pass $nextcloud;
    include /etc/nginx/proxy.conf;
    access_log /var/log/nginx/access_nextcloud.log;
    error_log  /var/log/nginx/error_nextcloud.log;
  }

  location = /robots.txt {
    alias /usr/share/nginx/html/robots.txt;
    allow all;
    log_not_found off;
    access_log off;
  }
}
Nextcloud gets a single catch-all location block with no rate limiting — unlike the other services, Nextcloud ships with its own built-in brute force protection that handles login throttling natively, so adding nginx rate limits on top would only interfere with legitimate usage like bulk file syncs or mobile clients. The two notable directives are client_max_body_size 10G and client_body_timeout 300s — without these, nginx would silently reject any upload over 1MB (its default) and kill slow connections before a large file finishes transferring. Everything else follows the same pattern as the other services: variable-based proxy_pass so nginx survives container restarts, shared ssl.conf and proxy.conf for consistency, and a dedicated log pair to keep Nextcloud traffic easy to isolate when debugging.
Install nextcloud app on a Linux laptop
The installation on a Debian/Ubuntu-based system is quite easy.
# apt install nextcloud-desktopThen, run nextcloud from the application menu:
 Login first
Login first by providing the server details. It will bring you to the web-based access with your browser to authenticate the application itself.
 Authenticate app via the web-based access
Login and grant access
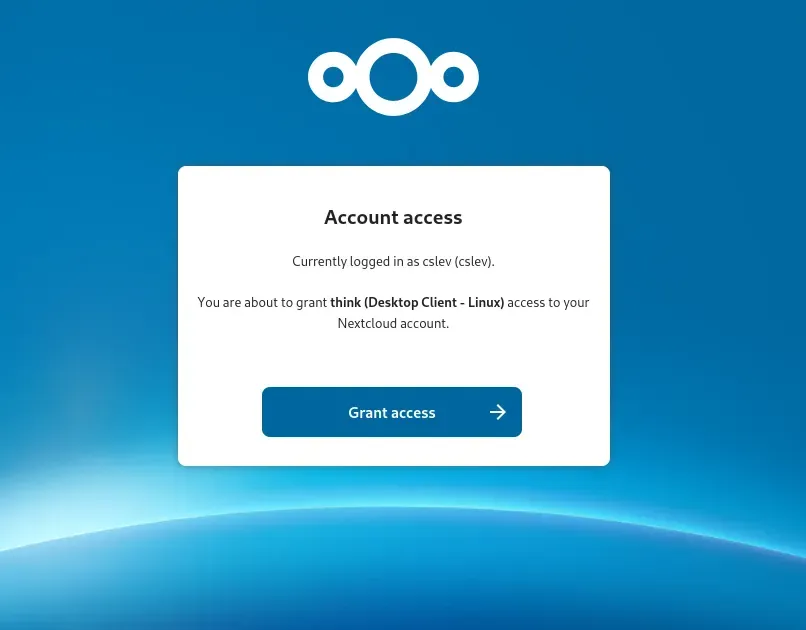 Grant access
After our application has been granted access, skip the recommended setup by clicking on the “Skip folders configuration” button as shown below.
 Click on Skip folders configuration
Then, go to settings and do manual folder setup
 The settings window
Select the local folder first
 Selecting the local folder
Then, pick the remote folder, i.e., where your local folder will be synchronized in your cloud.
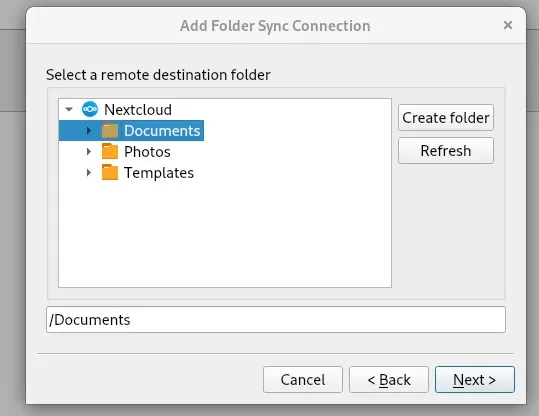 Remote folder selection
Then, the synchronization starts.
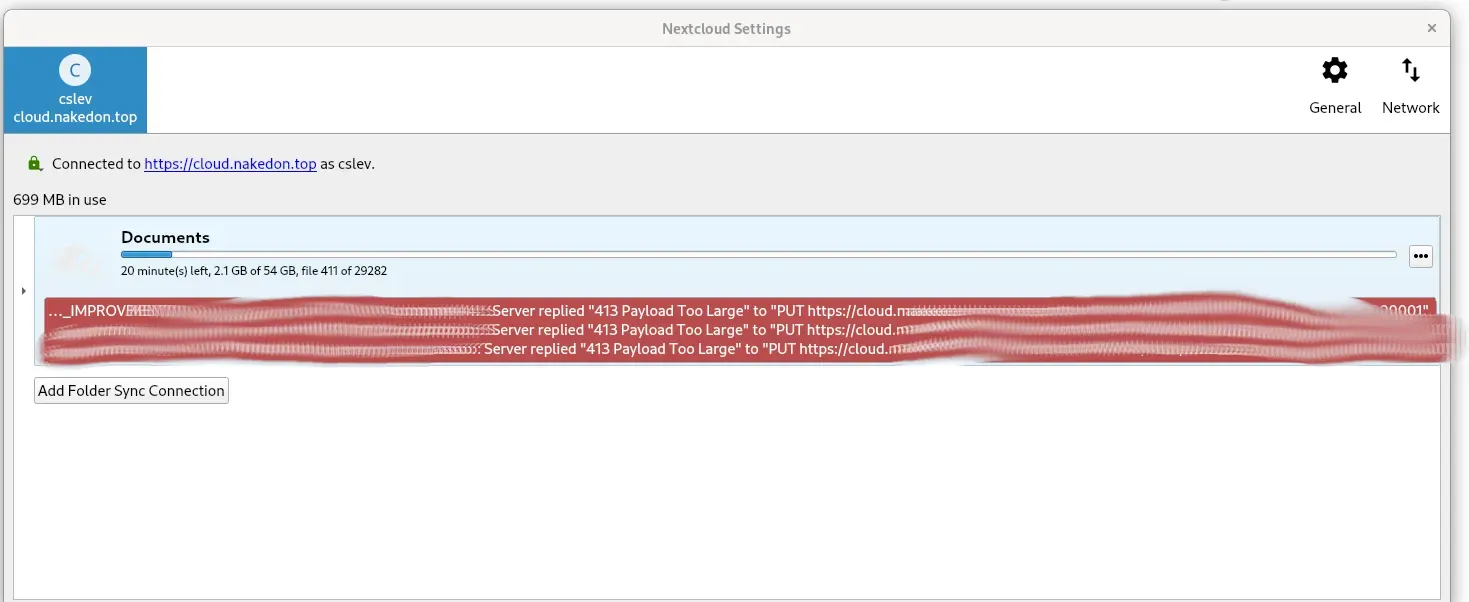 Synchronization is running
While most files sync without issue, you’ll notice I ran into some errors — mainly with large video files and ISO images. These files aren’t actually too big for Nextcloud itself, since the upload limit is set to 1GB. Instead, the bottleneck comes from the free-tier Cloudflare tunnel, which imposes its own file size restrictions. This highlights a limitation of using the free Cloudflare tunnel and gives an extra point in favor of using Nginx as a reverse proxy — if only I had a public IP!
I am quite satisfied with the speed too, and don’t forget, it is only that slow initially, when you upload everything. When it’s about uploading the deltas and new files, it is damn fast. Checking dmesg on the PI also indicates that so far, no error regarding our SSD. I only see the last virtual ethernet device creations imposed by our docker subsystem.
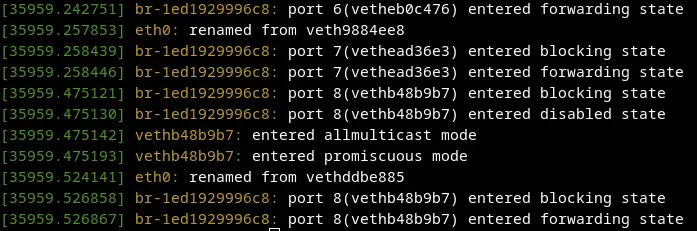 So far, no error related to hardware issue
The CPU and SSD temperature has increased a bit though :)
# smartctl --all /dev/nvme0 |grep -i temperature
Temperature:                        53 Celsius
Warning  Comp. Temperature Time:    0
Critical Comp. Temperature Time:    0
Temperature Sensor 1:               70 Celsius
Temperature Sensor 2:               53 Celsius

# sensors
rpi_volt-isa-0000
Adapter: ISA adapter
in0:              N/A

rp1_adc-isa-0000
Adapter: ISA adapter
in1:           1.47 V
in2:           2.52 V
in3:           1.33 V
in4:           1.35 V
temp1:        +65.9°C

cpu_thermal-virtual-0
Adapter: Virtual device
temp1:        +55.6°C

pwmfan-isa-0000
Adapter: ISA adapter
fan1:        1034 RPM

nvme-pci-10400
Adapter: PCI adapter
Composite:    +53.9°C  (low  = -40.1°C, high = +83.8°C)
                       (crit = +87.8°C)
Sensor 1:     +66.8°C  (low  = -273.1°C, high = +65261.8°C)
Sensor 2:     +53.9°C  (low  = -273.1°C, high = +65261.8°C)
There is nothing to be afraid from these temperature, they are quite acceptable, and now the Pi is on a high load. Once we install Grafana and Gotify in the later episodes, we can not only monitor these things real-time, but can even get alerts if any of our sensors hits a limit.
App recommendation: Notes
Nextcloud Notes offers a wonderfully simple and efficient way to keep track of your thoughts, ideas, and to-do lists within your self-hosted Nextcloud instance. Leveraging plain Markdown files for storage, it provides a clean, distraction-free interface for note-taking on the web, along with excellent synchronization capabilities across various devices through dedicated mobile apps. This ensures your essential information is always accessible and neatly organized, without relying on third-party cloud providers, granting you full control over your personal data.
For those who prefer a more integrated desktop experience, particularly users of the Evolution email client, you can extend this convenience by adding your Nextcloud Notes as “WebDAV Memos.” This integration allows you to view, edit, and create new notes directly from Evolution’s dedicated Memos section, leveraging Nextcloud’s WebDAV protocol to keep everything in sync.
Steps to make in Evolution
- Go to File → New → Collection Account.
- In the first window, enter your Nextcloud Username and select Next.
- In the second window (Account Configuration), fill in the details:
- Name: A descriptive name (e.g., “Nextcloud Memos”).
- Server Type: Select WebDAV Notes. (This is the crucial step that tells Evolution to treat the WebDAV folder as Memos/Notes.)
- Host URL: Paste the complete WebDAV URL you prepared in Step 1:
https://your.nextcloud.server/remote.php/dav/files/YOUR_USERNAME/Notes/ - User: Enter your Nextcloud Username again.
- Click Next.
Done, now you have successfully integrated your Notes to Evolution.
Update Nextcloud metadata
Typically, Nextcloud relies on a cron job for background tasks, which you can configure in the Administration settings. However, when running Nextcloud inside a container, these background jobs might not execute as expected. You can monitor this in Administration settings under Overview, where it shows the last time a background job was run. If this timestamp is outdated, it’s a sign that updates aren’t happening automatically, and you should trigger them manually. Running these updates is crucial — they handle tasks like extracting metadata from your files, which helps with organization. For example, pulling EXIF data from photos allows Nextcloud to map your pictures based on GPS coordinates. To ensure updates run reliably, you can set up a cron job directly on your host system as root. Switch to the root user, open the crontab with crontab -e, and add the following manual update command at the end of the file:
0 3 * * 1 docker exec -u 33 nextcloud php -f /var/www/html/cron.phpThe command in essence “go into your container” and executes php -f /var/www/html/cron.php command in the user of www-data (UID=33).
Some further commands
After running Nextcloud for some time, you might see several error/warning messages in the Overview section. Some might require you to set maintenance window, other might want you to do manual upgrade of the database because of an overall Nextcloud upgrade, etc. These commands are usually one-off commands; there is no need for regular calls, just call them when Nextcloud complains.
Set the maintenance window according to our update in the crontab:
# docker exec --user www-data nextcloud php occ config:system:set maintenance_window_start --value="03:00"Repair database for mimetype migrations:
# docker exec --user www-data nextcloud php occ maintenance:repair --include-expensiveNextcloud database is missing an optional index, which can slow down certain operations:
# docker exec --user www-data nextcloud php occ db:add-missing-indicesNo default phone region set:
# docker exec --user www-data nextcloud php occ config:system:set default_phone_region --value="SG"If you’ve wired up an external OIDC provider like Keycloak via the user_oidc app but you host it on the same machine as in Part 12 , and login throws “Failed to contact the OIDC provider token endpoint” even though the login screen itself worked fine — Nextcloud blocks outbound requests to local/private IP addresses by default, and it catches its own provider’s token endpoint if that provider sits behind the same LAN or reverse proxy as Nextcloud:
# docker exec --user www-data nextcloud php occ config:system:set allow_local_remote_servers --type=boolean --value=trueGlobal switch, not scoped to one provider — fine on a single-admin home server, worth pausing on if Nextcloud serves anyone else. This issue only exist, as far as I experienced, if you update your local DNS to point to the local IP for your domains, instead of allowing it to go out and hairpin back.
Running your own Nextcloud server on a Raspberry Pi is a powerful way to reclaim control over your digital life, giving you private, secure, and always-accessible cloud storage right at home. With a bit of initial configuration and some attention to storage and networking, you can enjoy the freedom, privacy, and convenience of your own personal cloud, tailored exactly to your needs.